HTML website hosting has never been easier. When you push your
changes to your connected git repository, we’ll automatically
update your website. Are you new to git? No worries, it may seem a
bit complicated. But with the right knowledge it’s actually pretty
easy. Follow our
guide
to get set up with git.
What is git?
Git is a code version control tool. It was founded in 2005 and is
made by Linus Torvalds (founder of Linux OS). It’s similar to the
versions Word documents have in OneDrive or Google Documents in
Google Drive. The main difference is it’s able to merge source
files together and is pretty good at that.
Getting started with Git
In this tutorial, we will get you started with Git. For this
tutorial we will use Bitbucket. Bitbucket is free to use and
offers private repositories to use for absolutely free. We’ve been
using it for years and we’ve always been very satisfied with the
service.
First of all you need to download Sourcetree if you don't have it.
it is available
here
for free.
3. After clicking get it for free you will be sent to the
Atlassian page to add jira in the coding management. Don't worry
about it, you just have to click next as shown below in the
picture.
4. The next step is to sign up to bitbucket with your gmail that
you intend to use for your coding versions control. You have
multiple options to sign up as shown below in the picture.
6. Then you will be asked to create an account after signing
up.Just click create account. Click to create your account
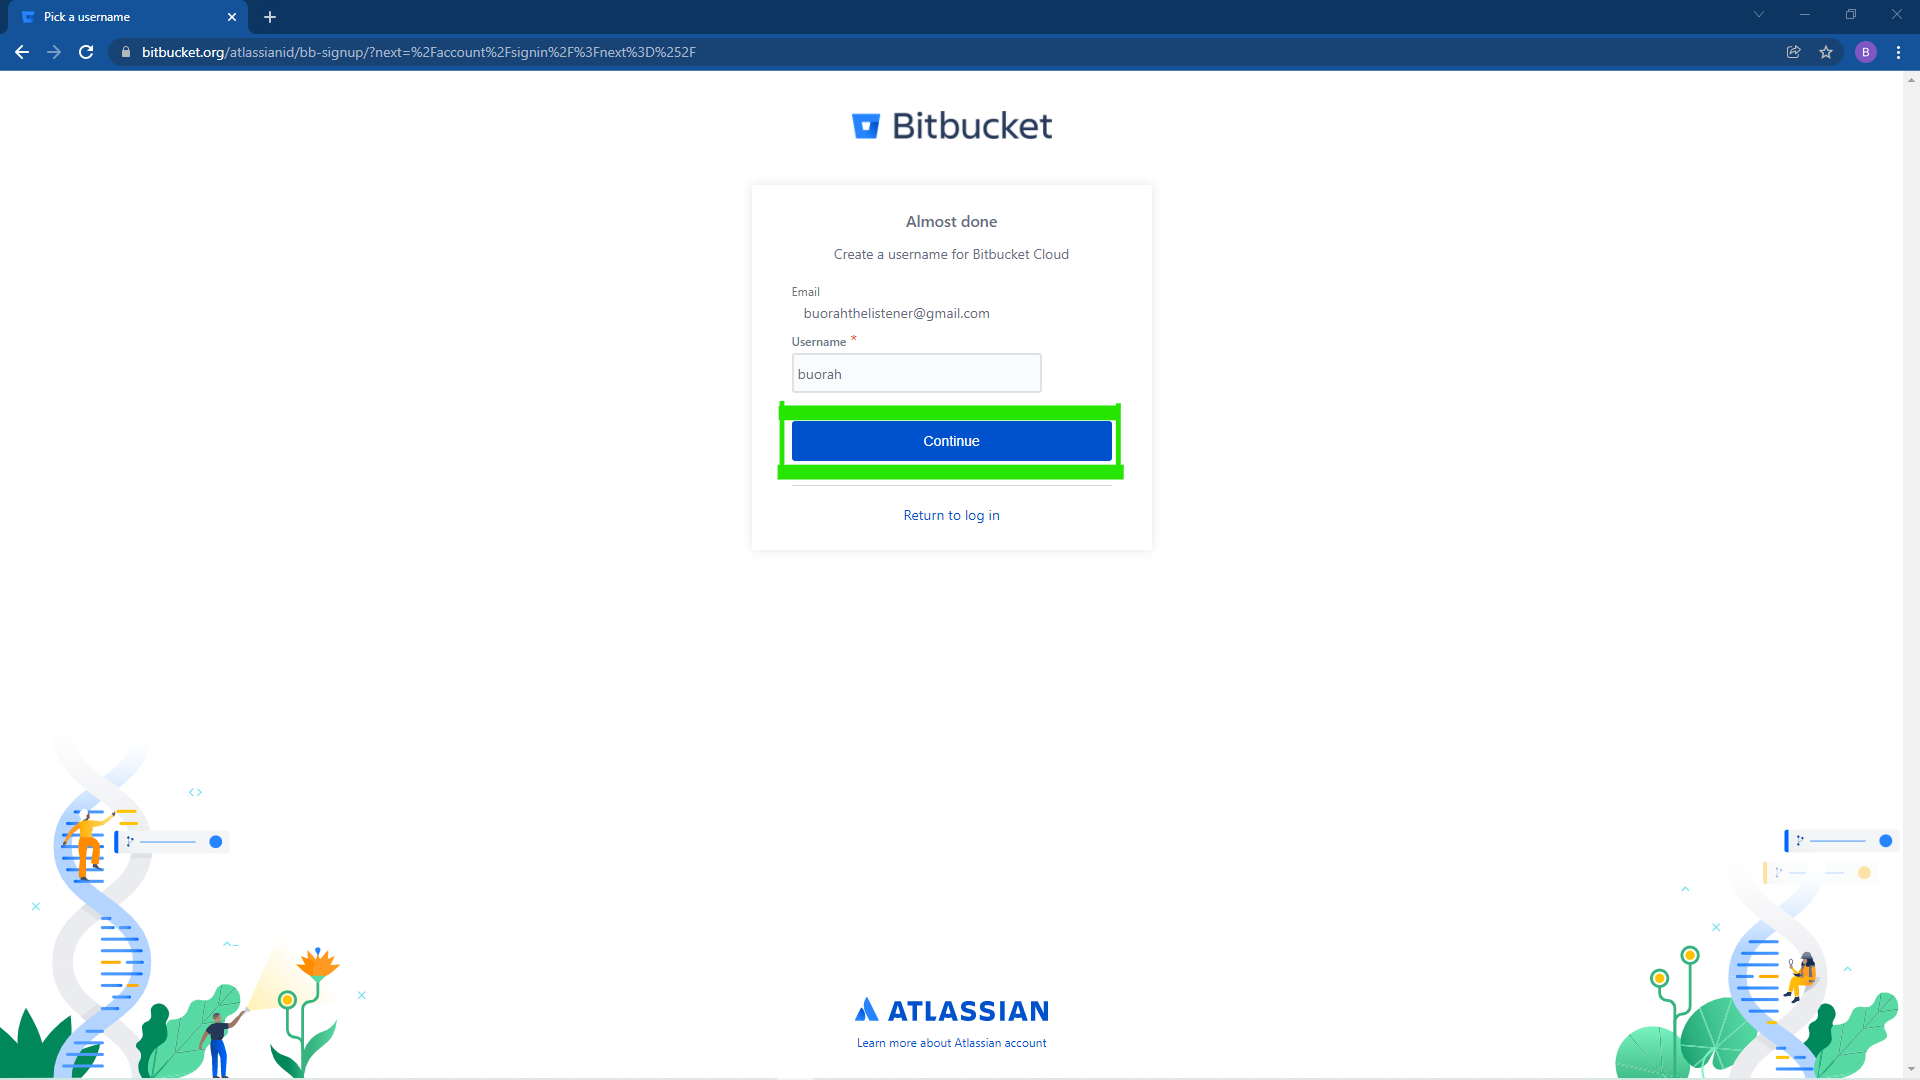
6. then you'll have to fill in your username as shown below and
then click continue.
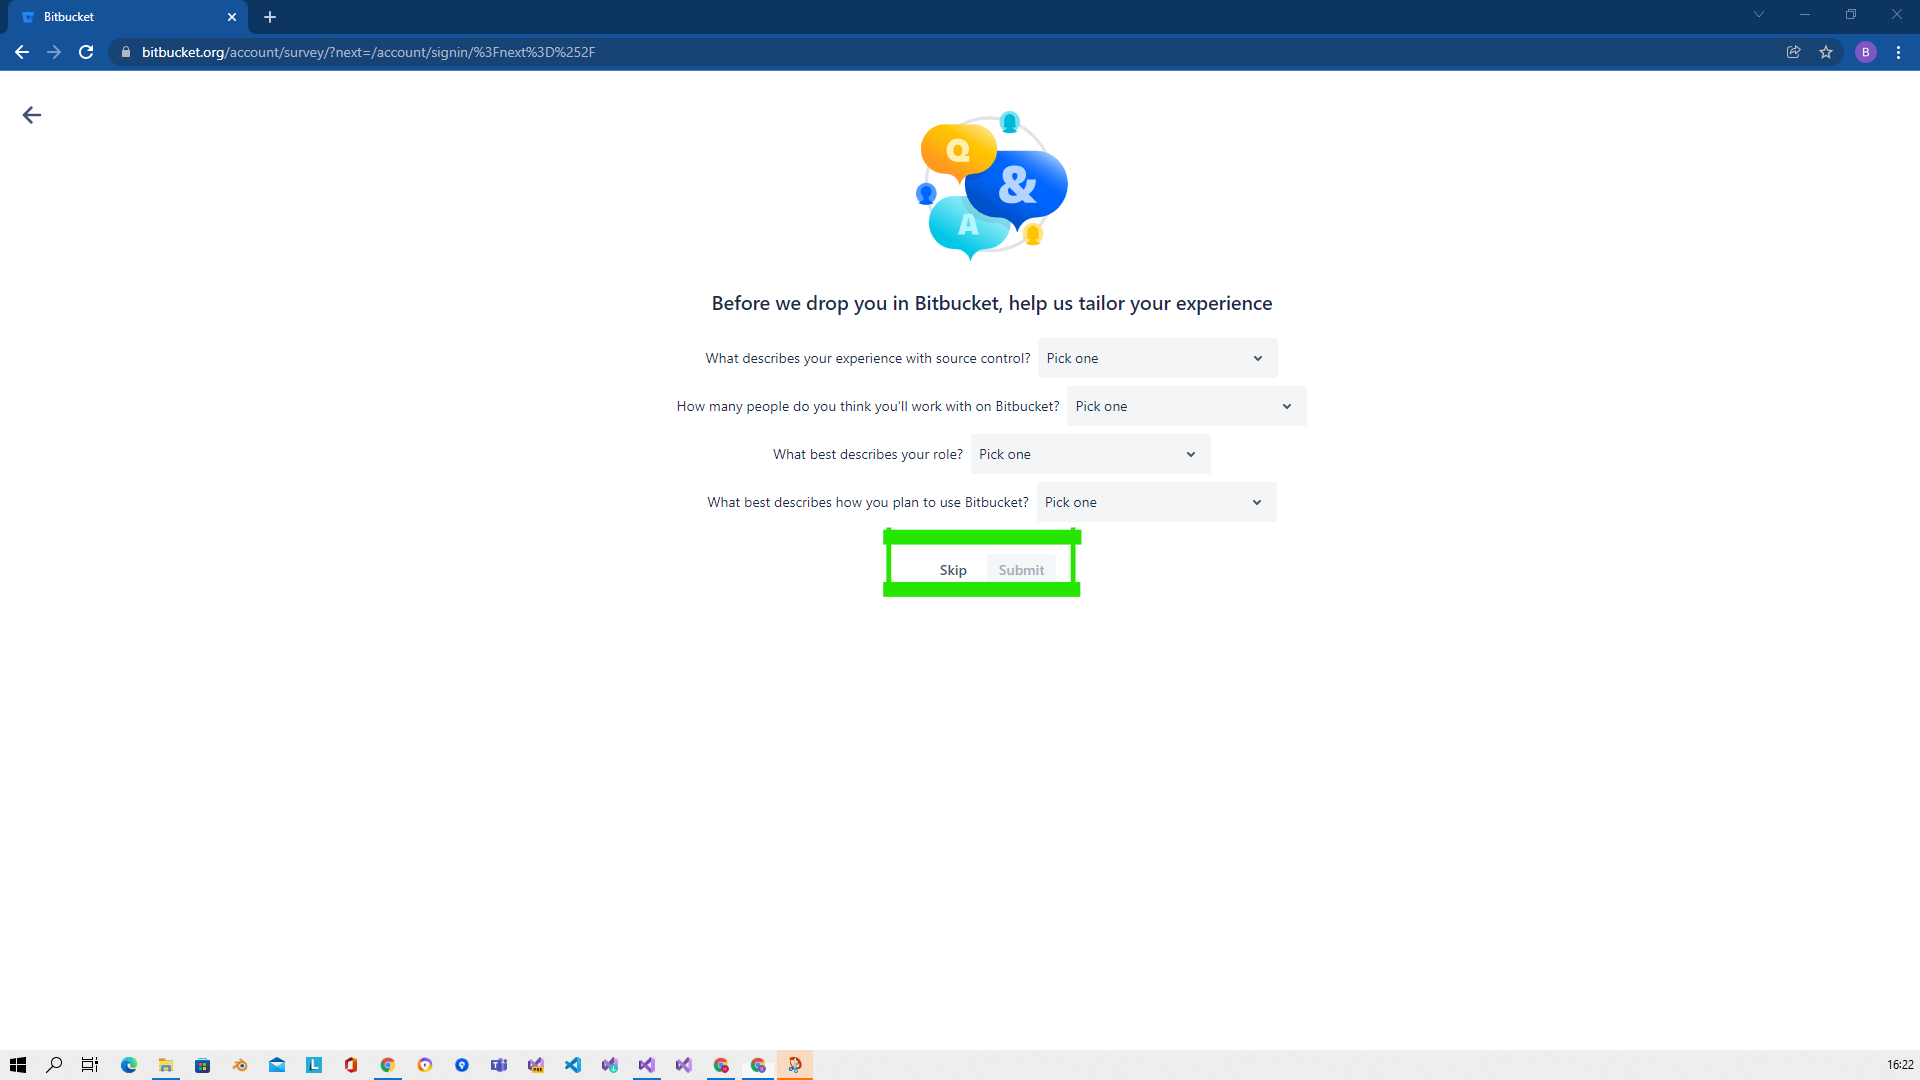
7. you can skip the next step, it's not that important for now. So
just click on the skip button.
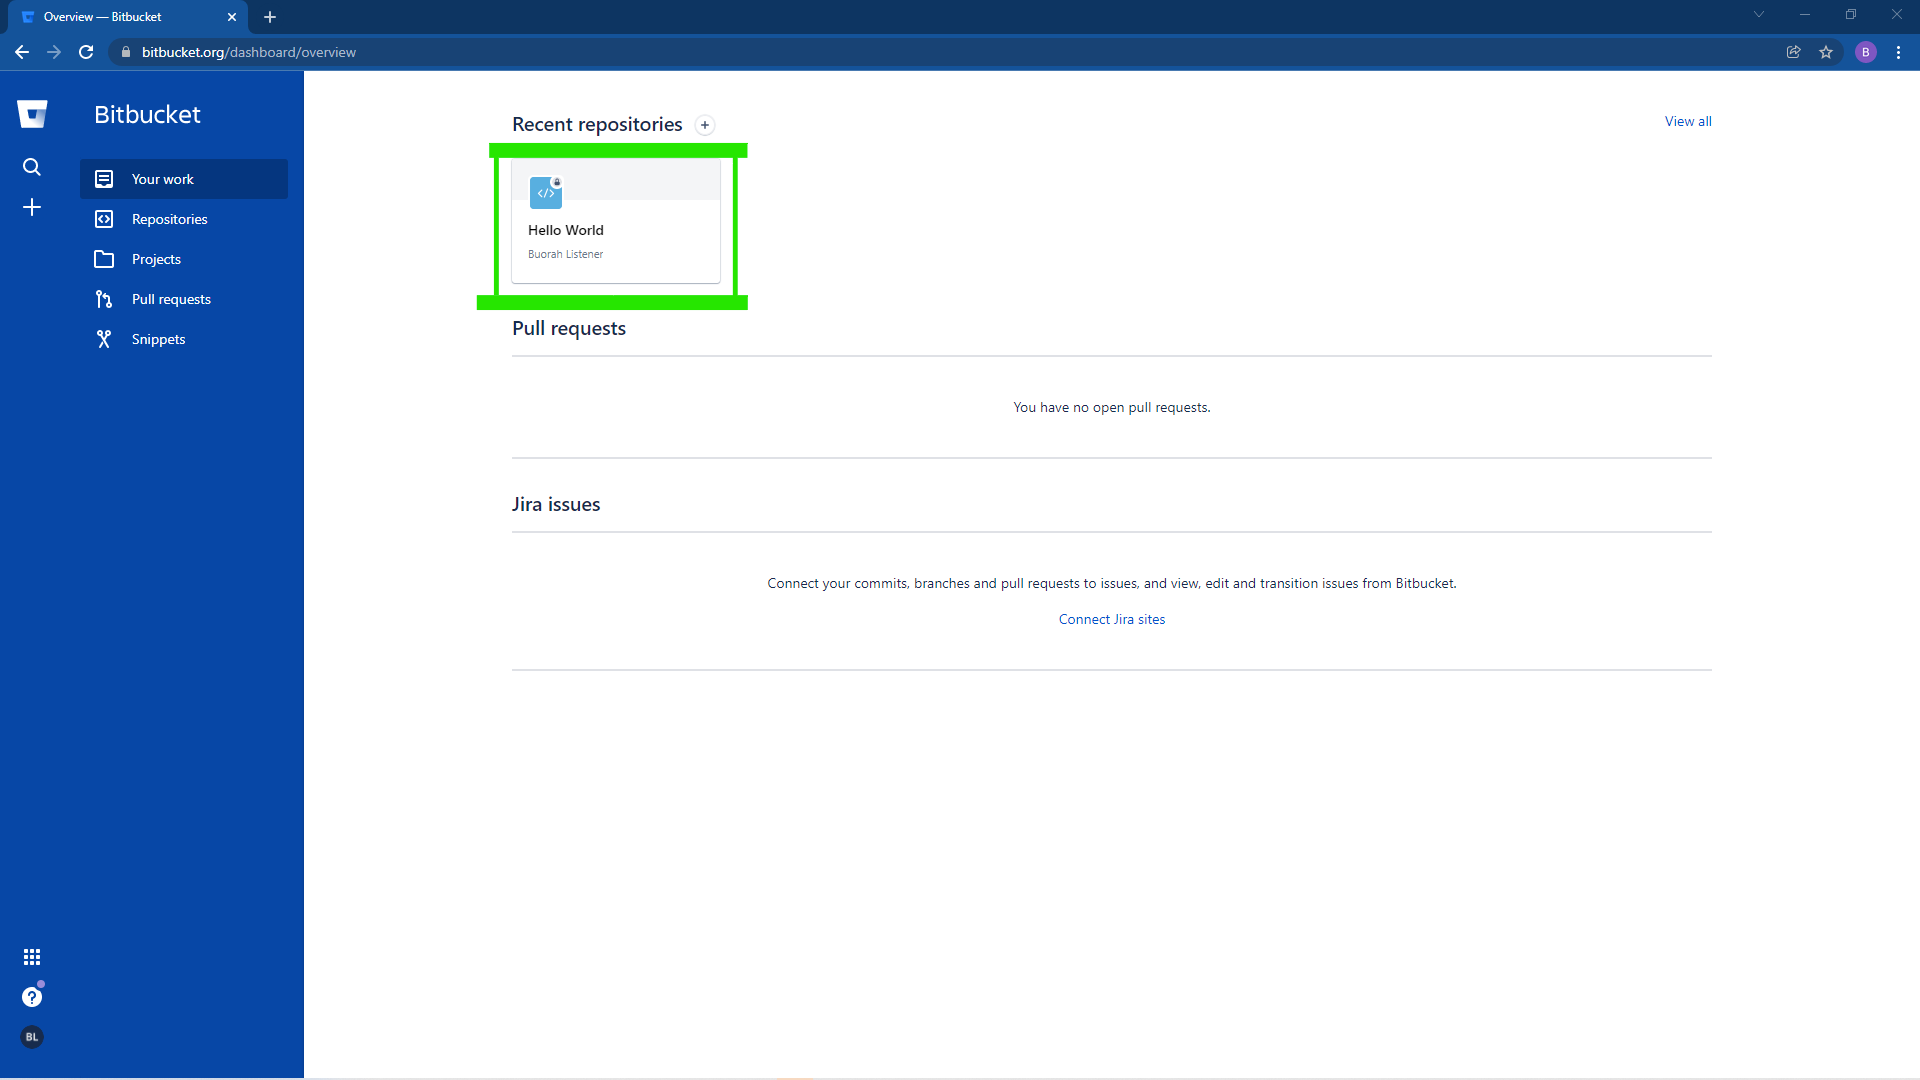
8. Then you will be redirected to the dashboard page of bitbucket
to overview your work but for now it's just empty because we don’t
have any repository created in our account. So let's do that
first. On the bitbucket dashboard page you will see an option for
creating a new repository as shown in the picture. Click that
option to create a new repository.
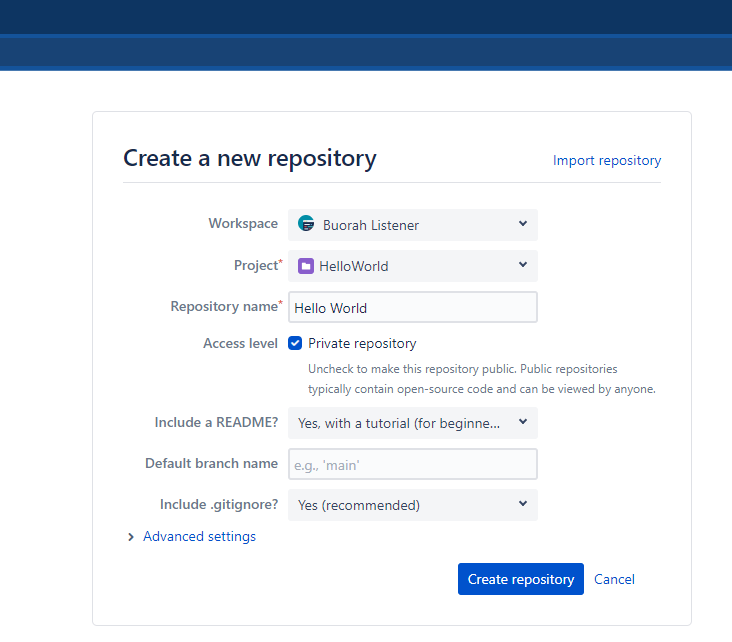
Then you will be redirected to another page for creating a new repository.
In this tutorial I am going to create a project called Hello World and my repository name will be the same as my project name which is also Hello World as shown in the illustration down below. After filling all the required information you can continue by clicking on a create repository button.
9. then you will be redirected to your Bitbucket dashboard page and if everything went
well you will see your new project created with the name that you gave it.
I gave my project the name Hello World so that's why my project is also called Hello World.
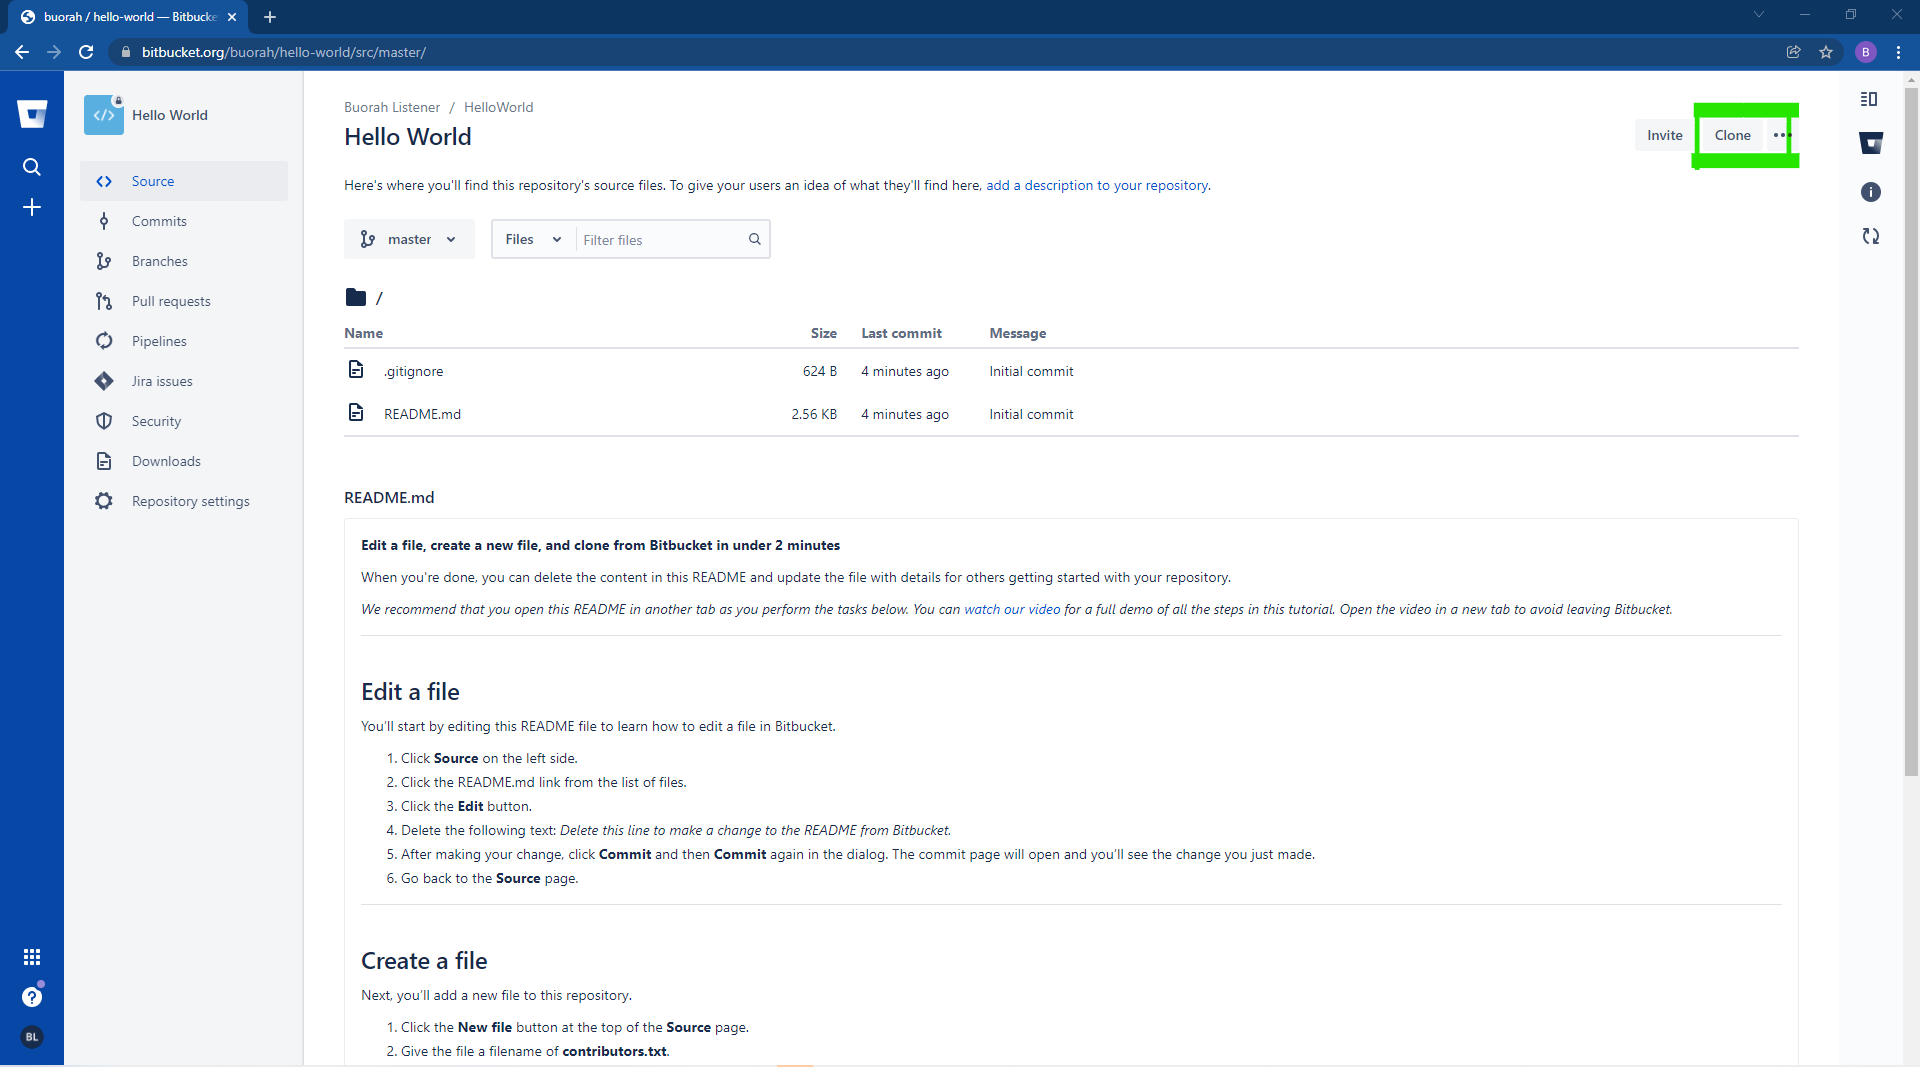
10. The next step is to click our project which will bring us to the page shown below. Then from here
we can clone our project with the sourcetree by
clicking the clone button on the top right corner of the page.
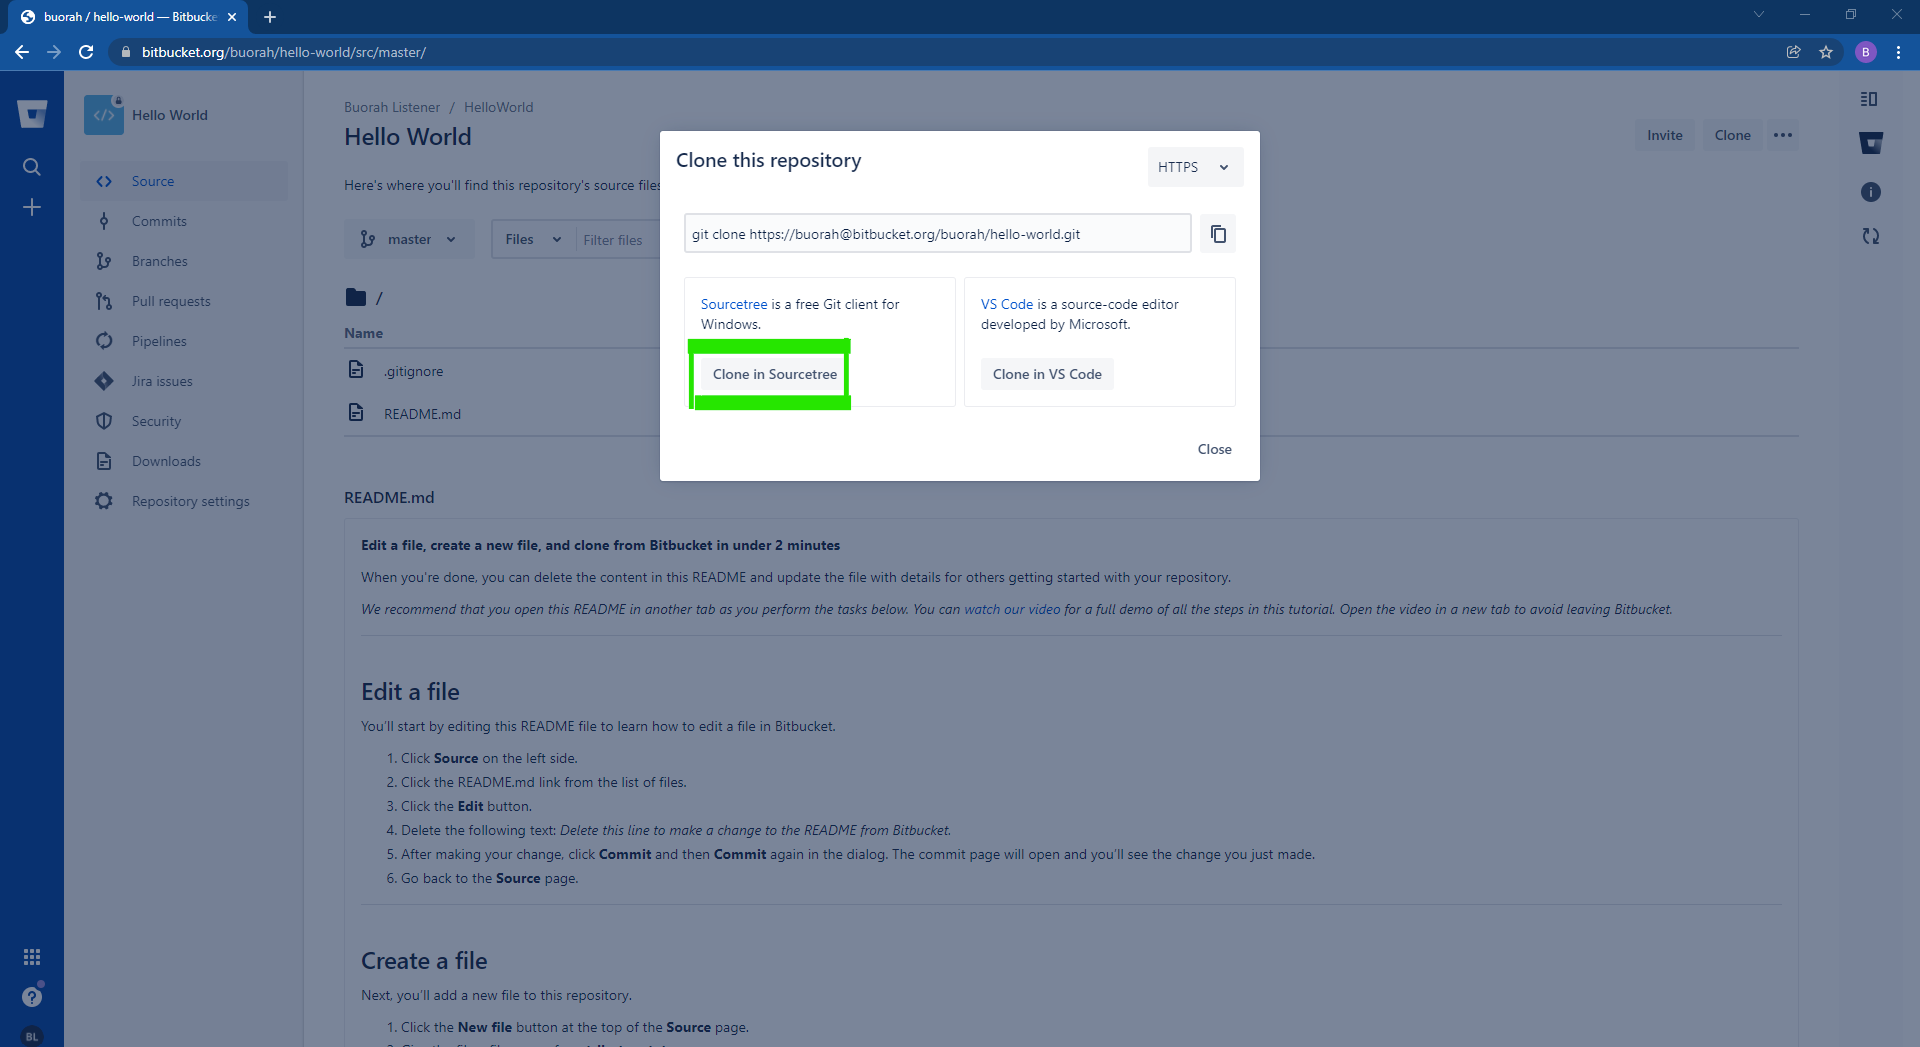
11. The next step is to click “Clone in Sourcetree” if you have it installed. If not, go and download it . Click here to download Sourcetree app.
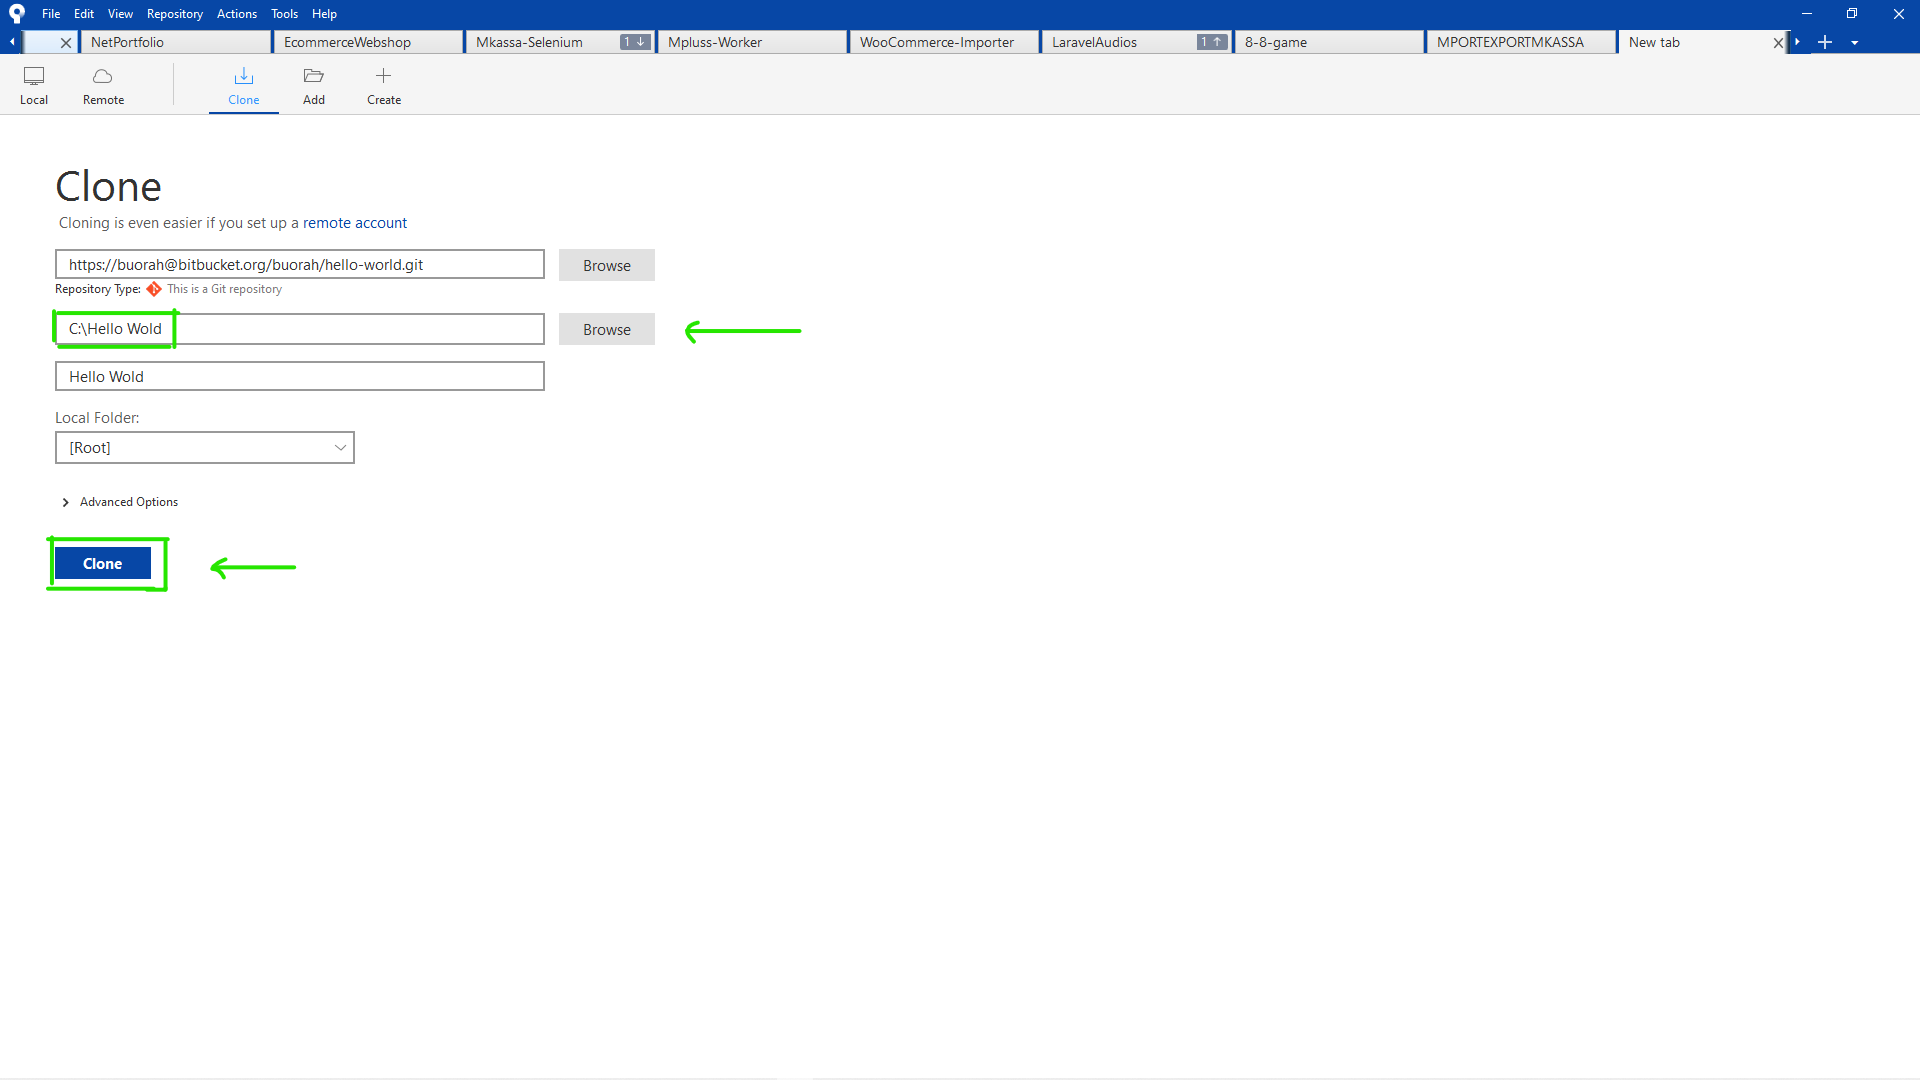
12. If the previous step went as expected the source tree app will be opened with the project clone link as shown below in the illustration. you might have to sign in with your Bitbucket account if you haven't already.
From here you can click browse to select the folder in which the project will be saved in after cloning finished. For me I created my own folder called Hello World in the root path.
For you, you don't have to; you can leave it with the default path in it. Then Click Clone to continue.
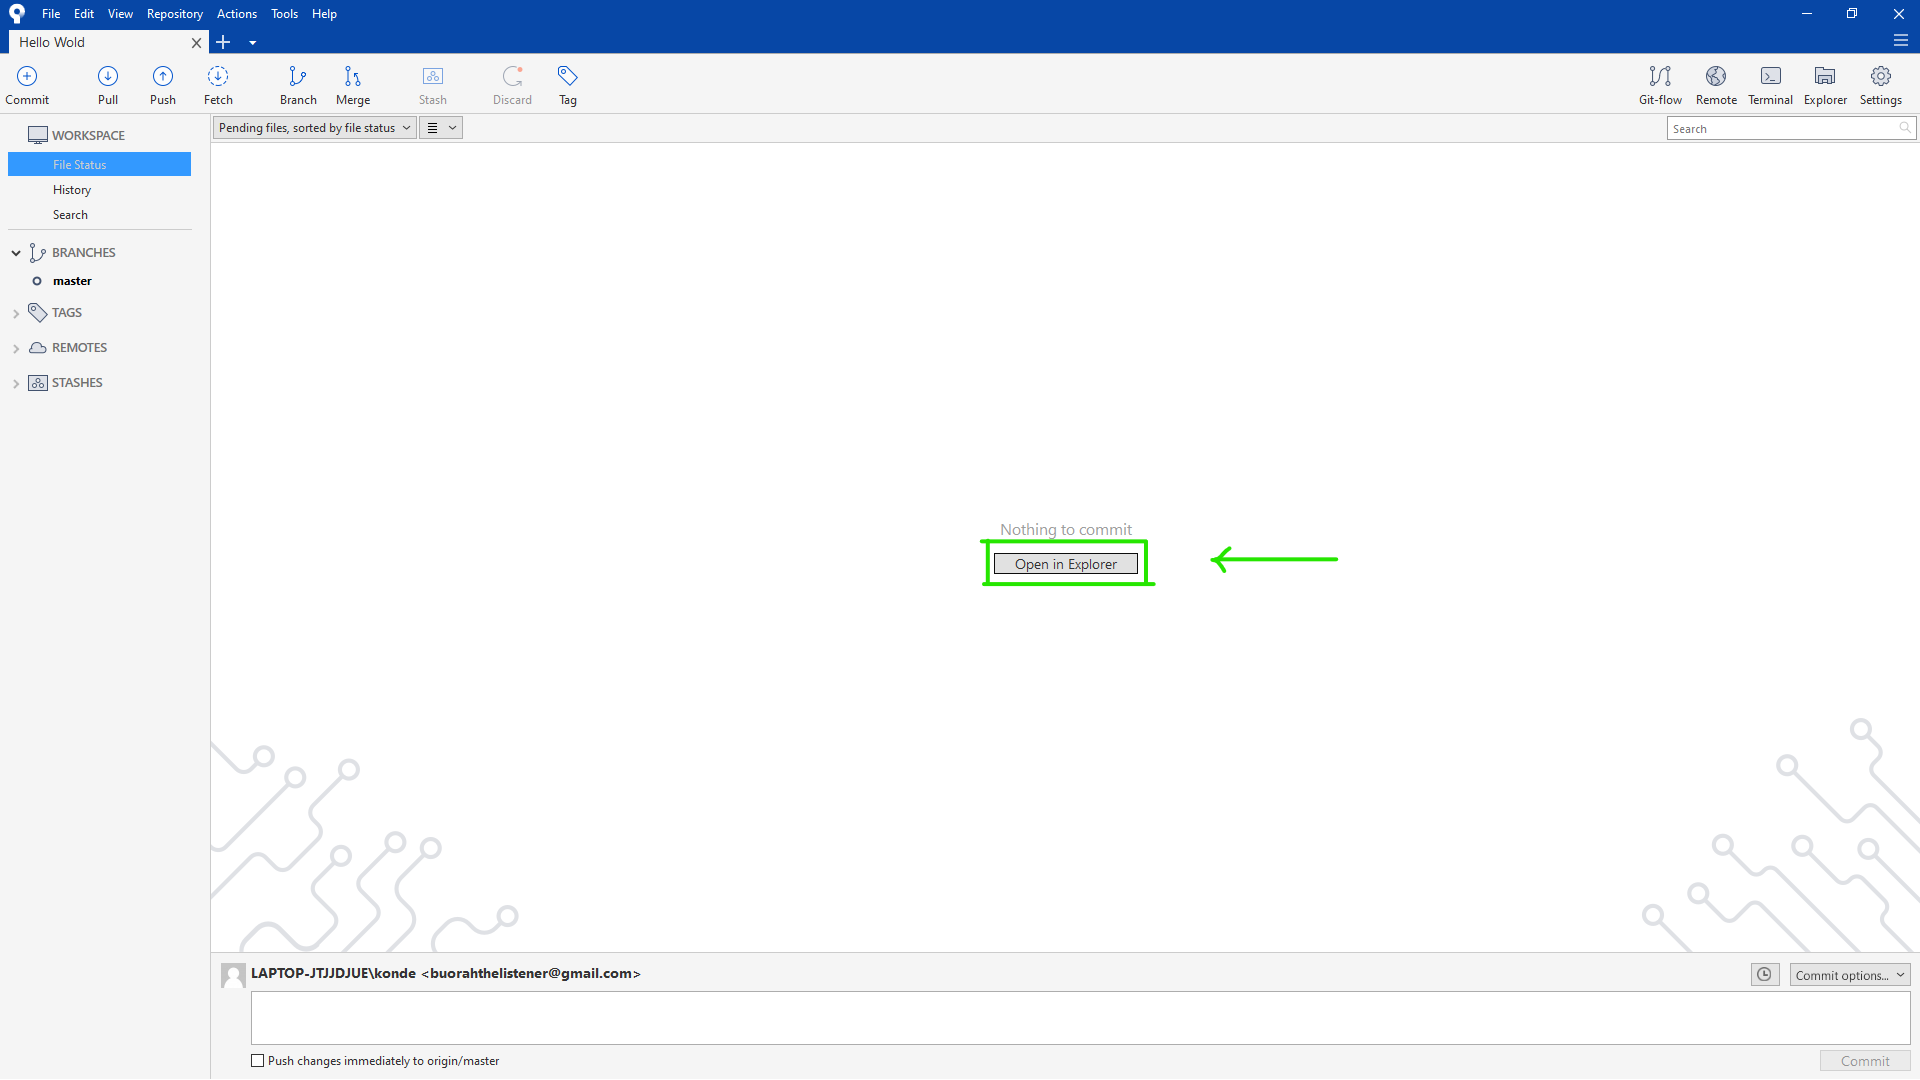
13. If everything went well, the source tree app will be opened as shown in the illustaration.
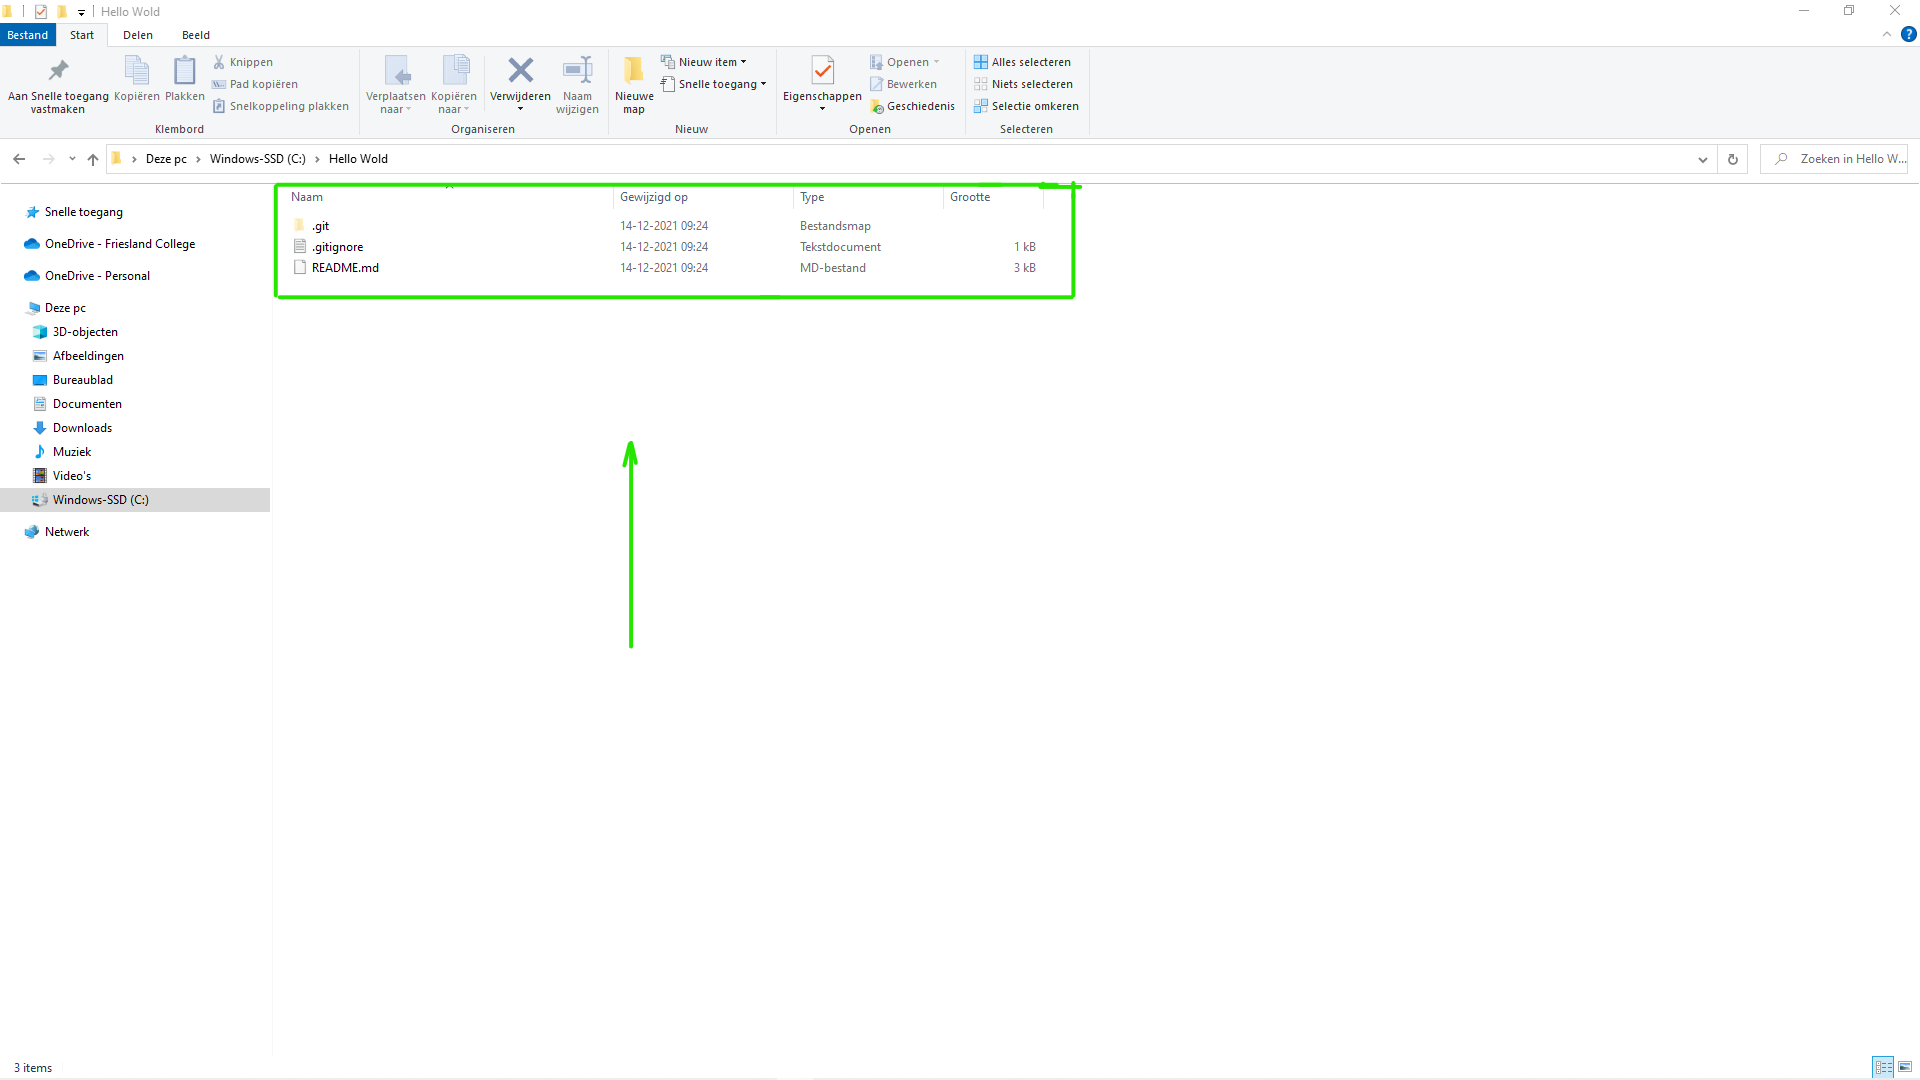
All you have to do is click “Open in explorer” to open the location in which the project was clonned. You should be able to see two files (“.gitignore”, “README.md”) and one git folder which is called .git. See the picture below.
Congratulations. You have successfully connetcted your sourcetree with bitbucket. And now I am going to show you how you can add your website in the source tree and push it online to the bitbucket.
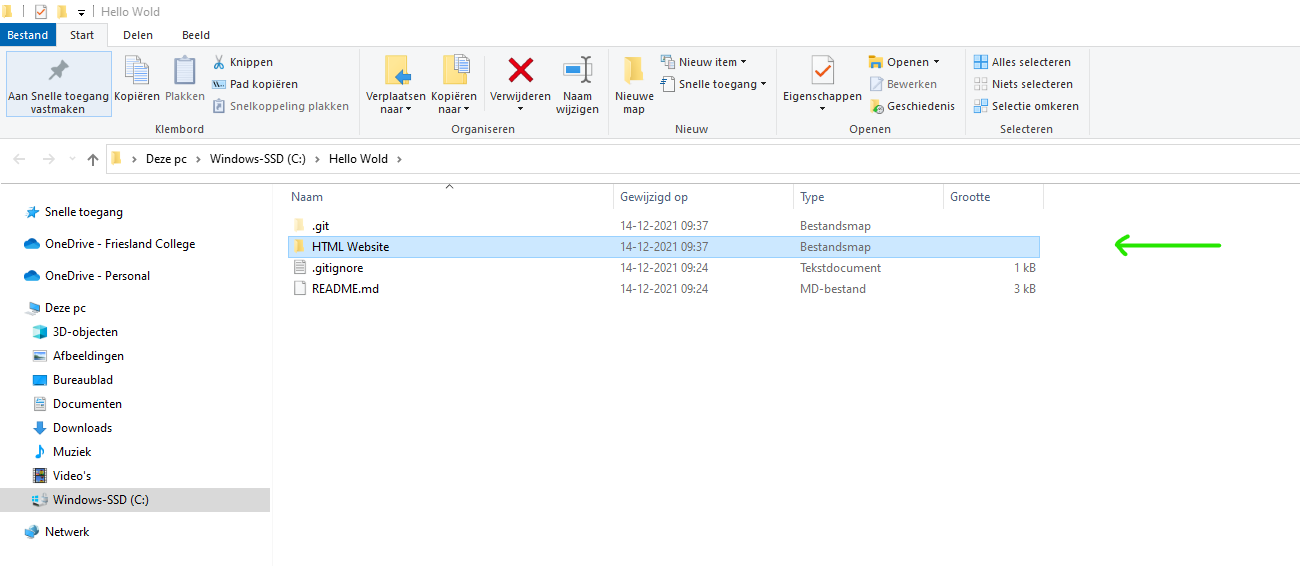
14. Create a new folder inside the folder where we cloned our project from the bitbucket if you don't have any project, But if you already have a project that you want to add in the source control, you can just copy and paste it in the path where our project was cloned in as I did.
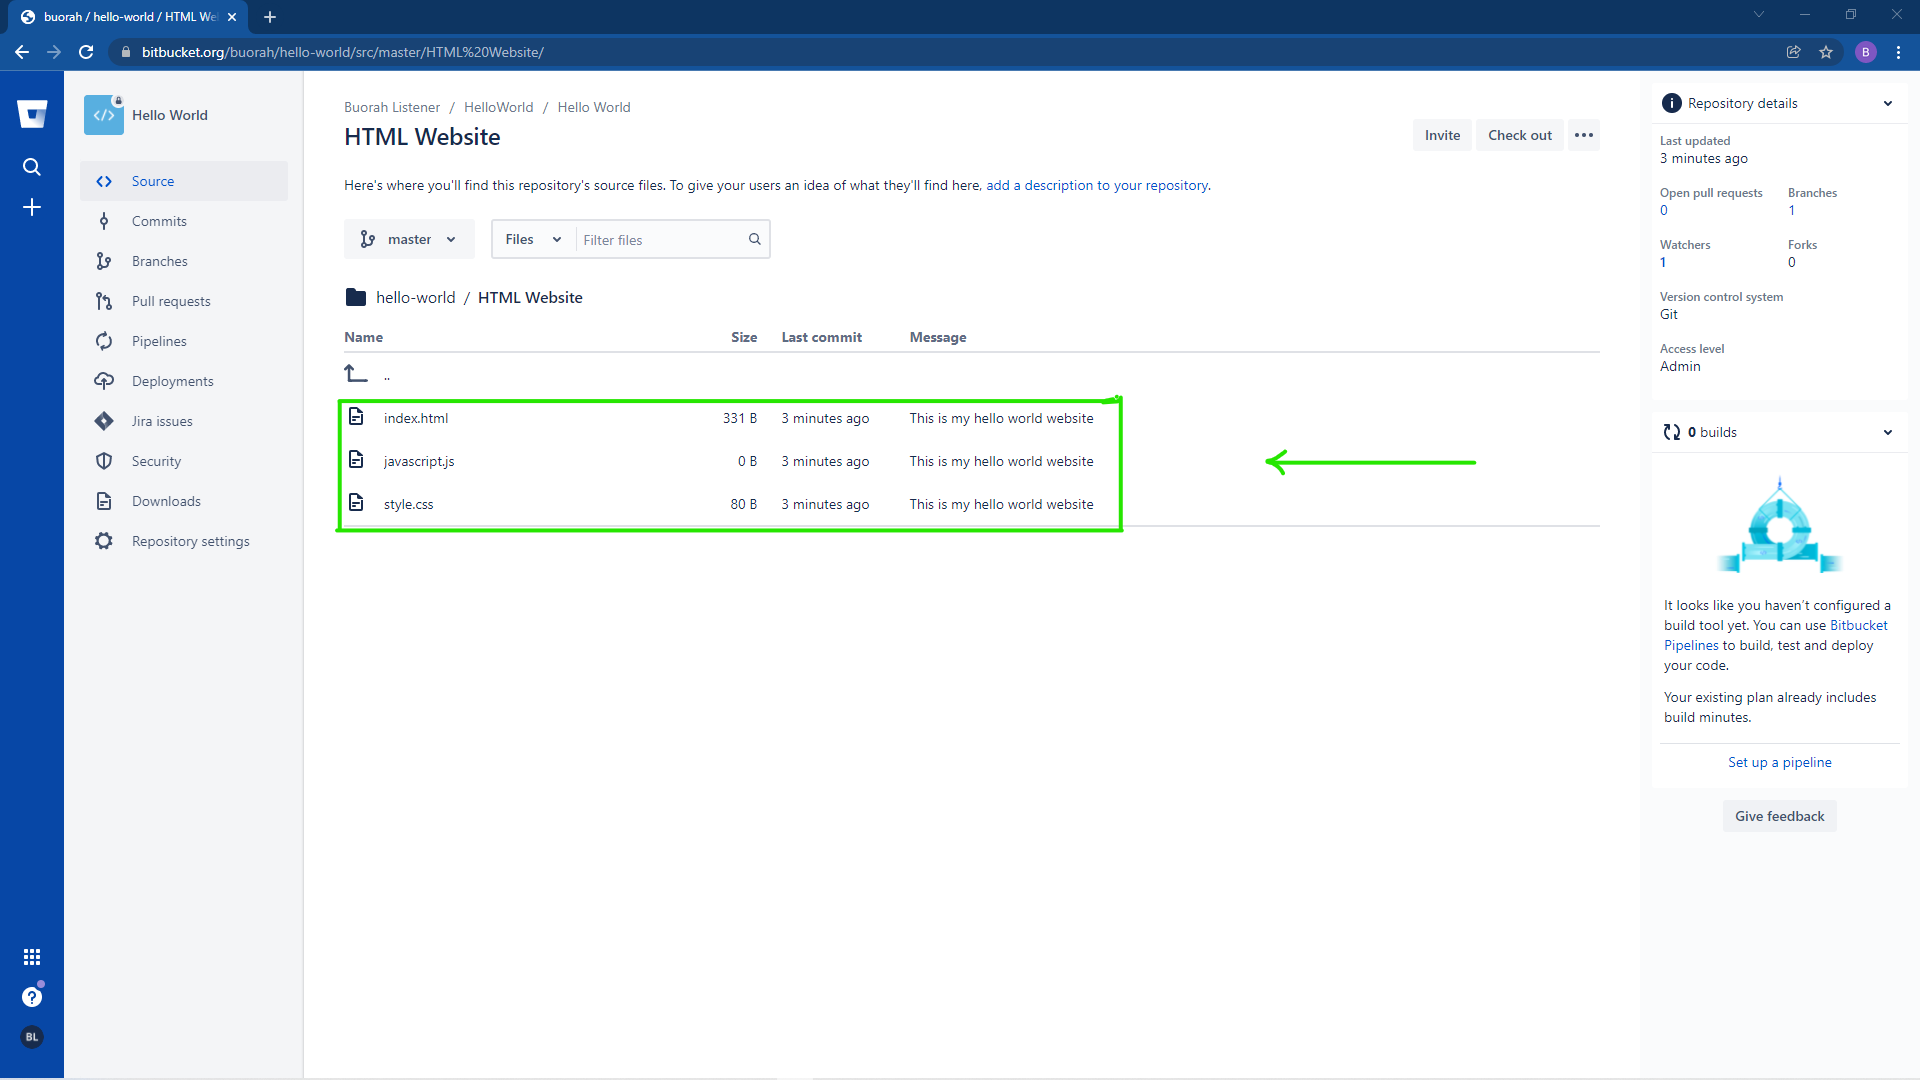
My website is stored in the folder called HTML Website as shown below and it contains files(“index.html”, “javascript.js”, “style.css”).
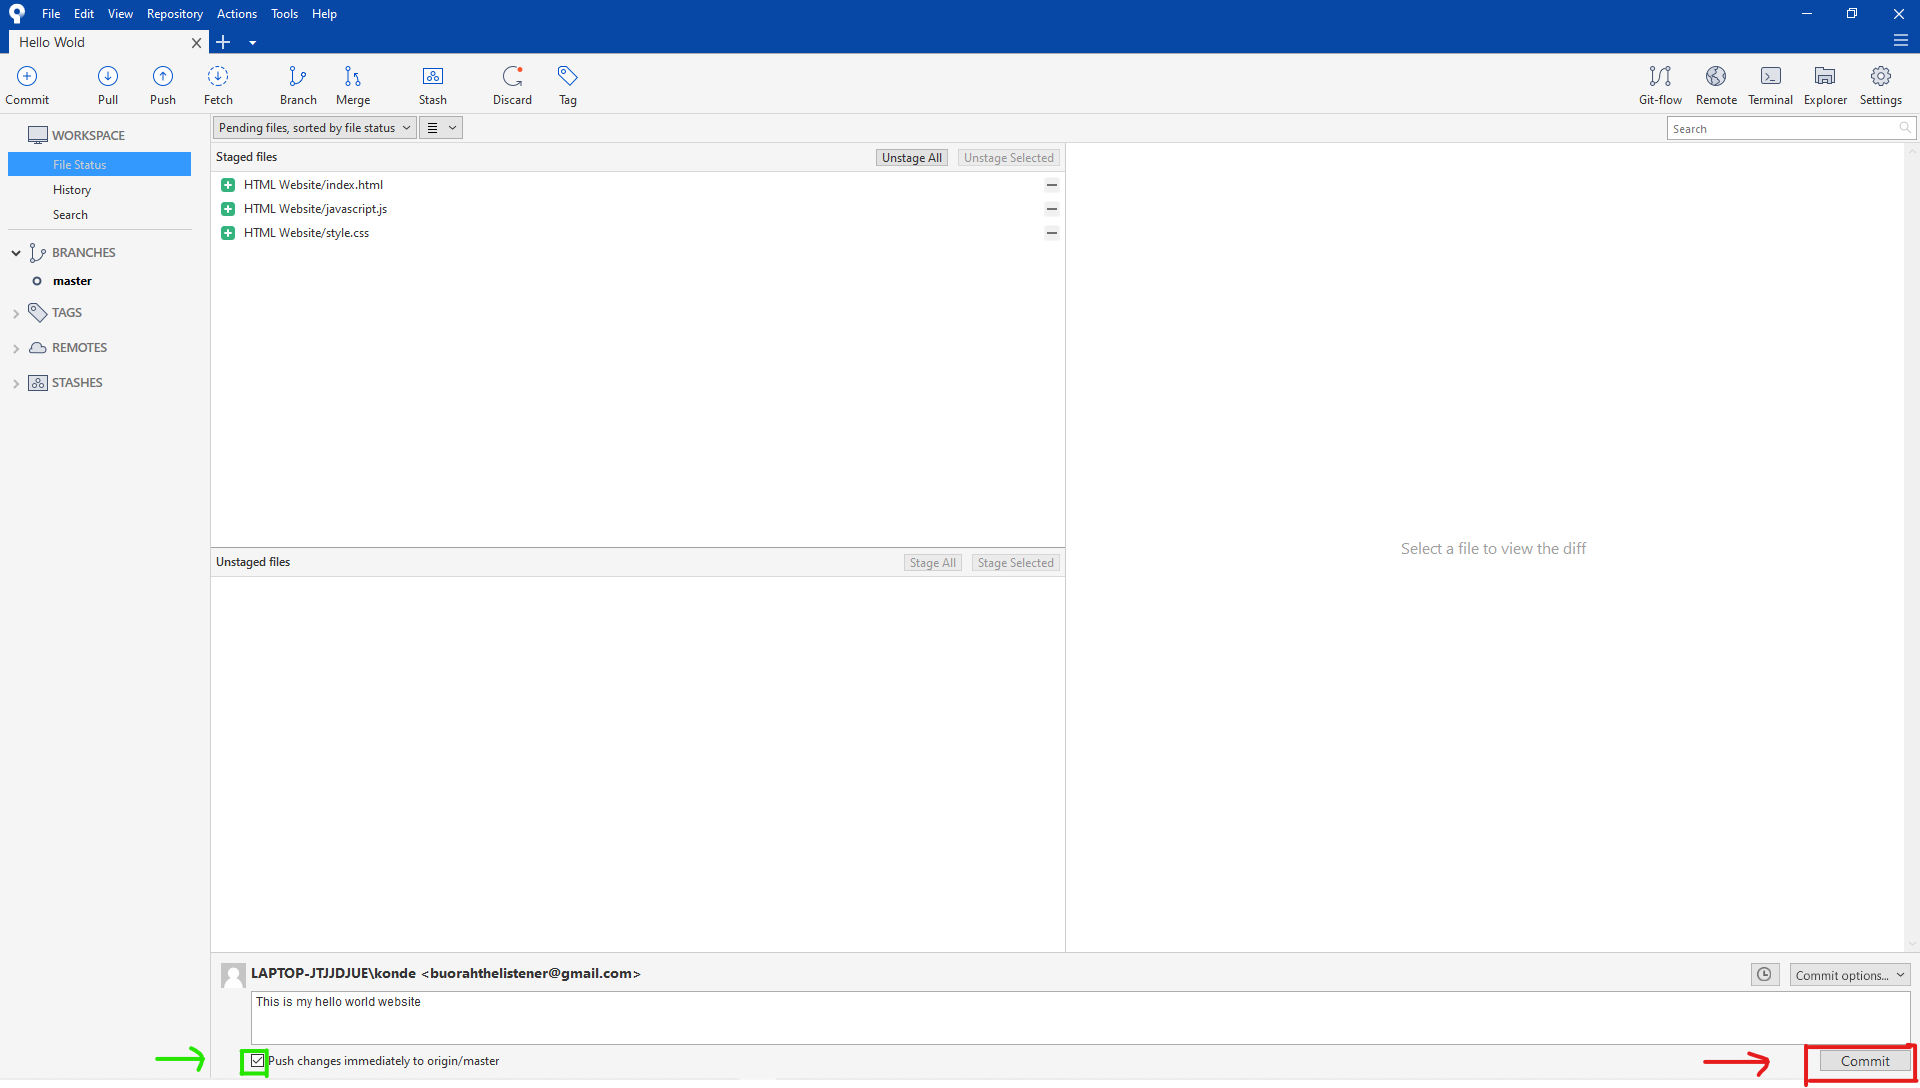
15. The final step is to Open sourcetree app and send our files to bitbucket. So go on and open sourcetree. You will see all the files that are in your website folder.
Then click stage Stage All as shown above in the illustration. and all files will be staged and ready to be added to the Bitbucket.
The last thing you have to do is to write the message in the text box (my message was “This is my hello world website ”) and check the checkbox. After that you can send your files to Bitbucket.
Congratulations you have successfuly added your project to the source control..
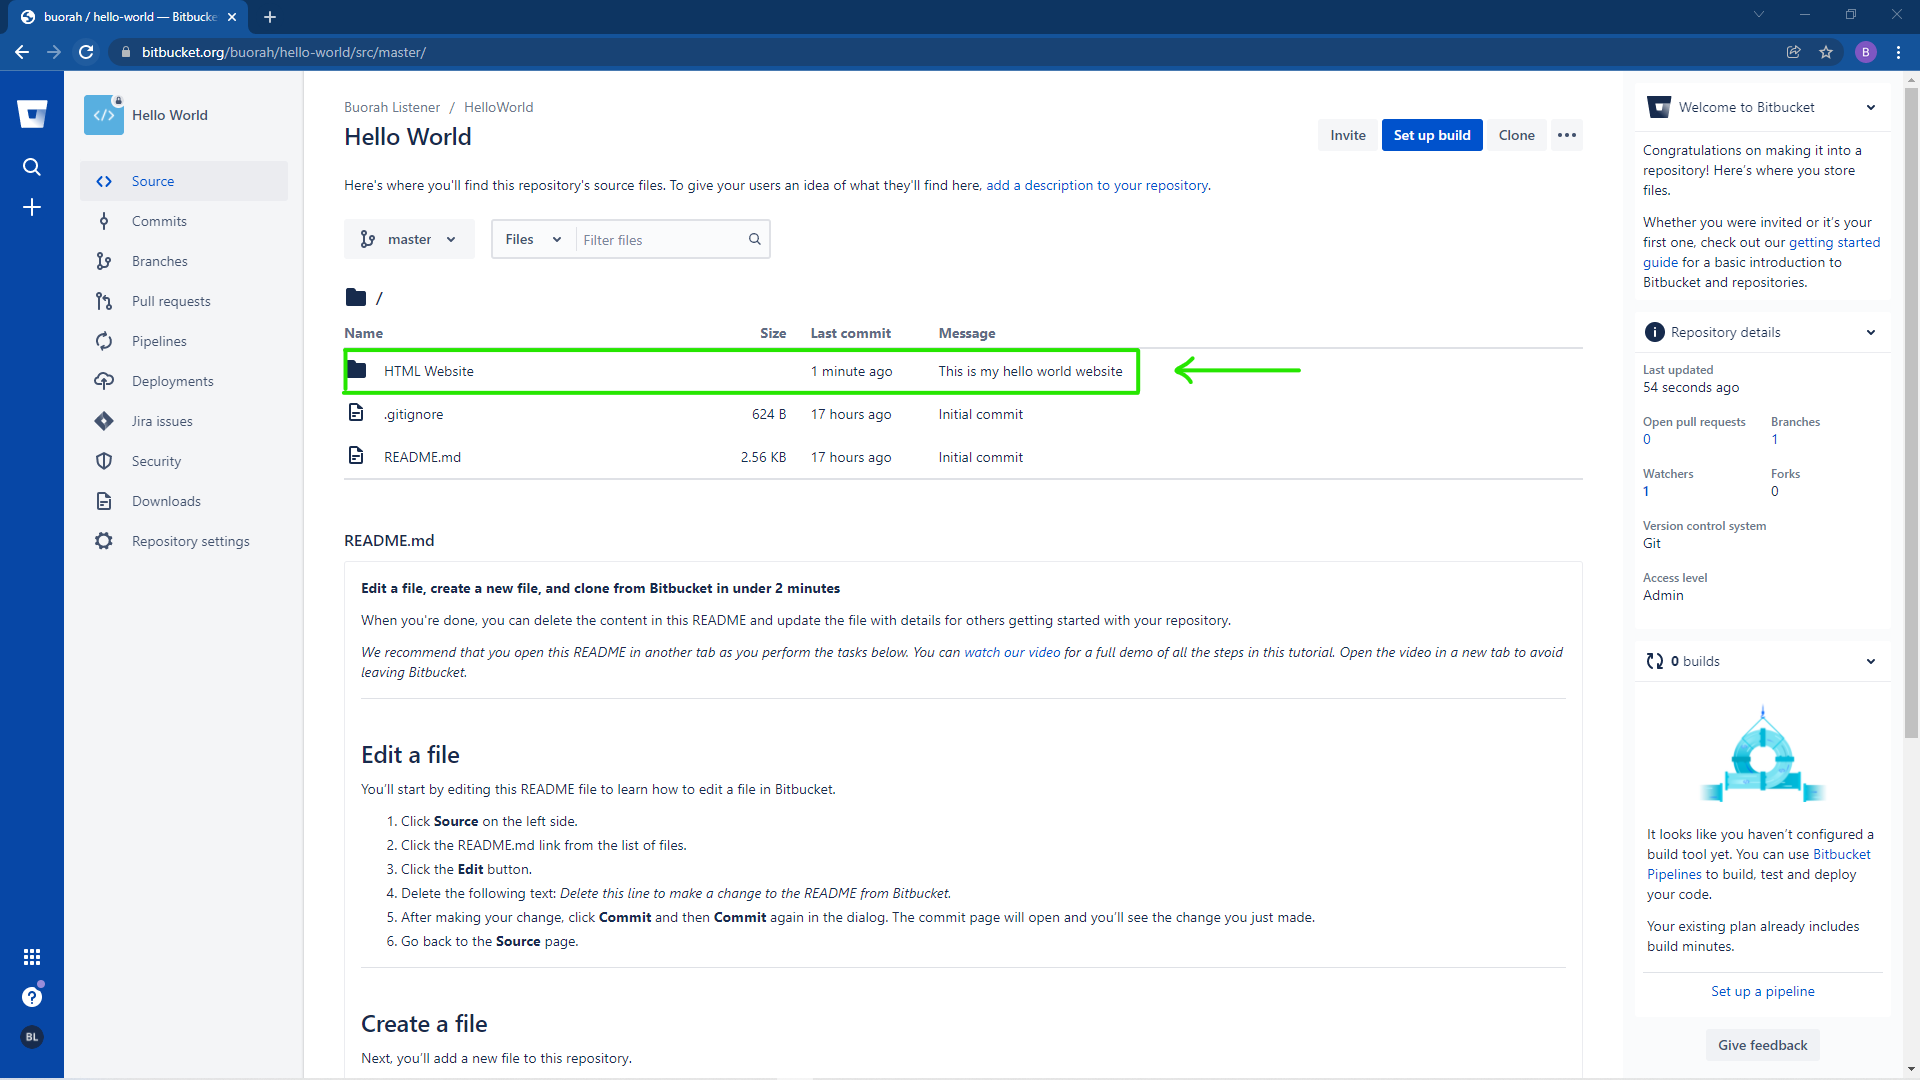
To see your files and changes just go to your bitbucket dashboard. click on the project that you cloned and all the files that you have pushed to the source control will be shown with the message you had written in the sourcetree.
Are you ready to automate your release flow?
Sign up today connect your git repository and we will have your
website up and running within minutes!